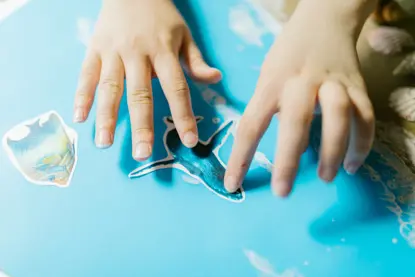
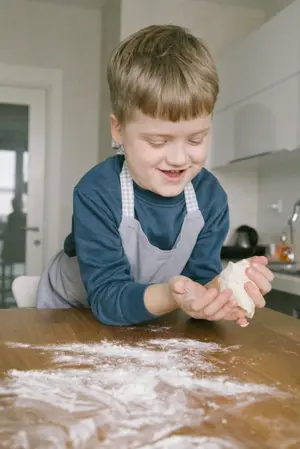
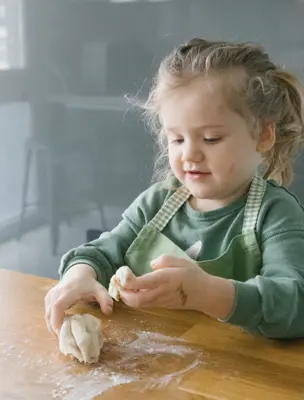
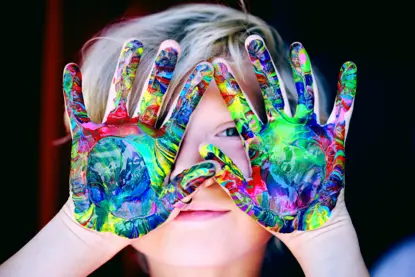
All the ingredients in these craft recipes are natural, non-toxic items you can easily find around your house.
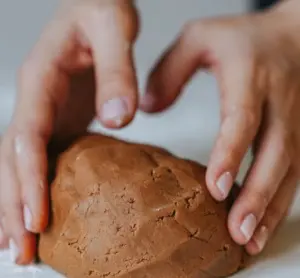
BETTER THAN STORE BOUGHT PLAY DOUGH
1 cup flour
½ cup salt
1 cup water
1 tablespoon vegetable oil
2 tablespoon cream of tarter
Few drops of food coloring
Instructions:
Mix all ingredients in a pan.
Cook over low heat, stirring constantly with a wooden spoon, until mixture pulls away from sides of pan and becomes a large ball. This takes just a minute. Do not over cook.
Quickly remove from pan and knead on kitchen counter until smooth.
This can be stored in a resealable bag in the refrigerator for several months.
Note: Double or triple recipe to create many colors.
|
PAT-A-CAKE BAKER’S CLAY
4 cups flour
1 cup salt
1 ½ cup cold water
Mix together flour and salt. Add water to mixture and blend. Knead for at least 10 minutes, or use a food processor. This will ensure that the mixture will bind and not fall apart when worked. Form shapes with clay. If this is to be hung like an ornament, poke a hole through using a straw or toothpick before drying. Bake on cookie sheet at 200-225 degrees for 2-3 hours until thoroughly dry. Paint the finished pieces as desired.
Idea: Add fun uncooked pasta shapes, string, sequins, pebbles, seeds, beads, pipe cleaners, feathers, google eyes, magnets, or other art materials. Allow project to air dry as baking with these items would be a safety hazard. Once dried, paint the finished pieces as desired.
|
THIN PASTE
1/4 cup sugar
1/4 cup non-self-rising flour
½ teaspoon powdered alum
1 ¾ cups water
1/4 teaspoon oil of cinnamon
Mix together the sugar, flour, and alum in a saucepan. Slowly add 1 cup of the water, stirring constantly. Boil until mixture is smooth and clear. Add remaining water and oil of cinnamon. Stir thoroughly. Paste will keep several months without refrigeration.
|
SILLY PUTTY
Mix equal parts of cornstarch and Elmer’s Glue. Do not substitute for other white glues.
|
HOMEMADE CRAYONS
These can be made and given as gifts to your child’s teacher or friends. Use theme molds for added interest, such as fish, flowers, holiday, or animal shapes.
1 cup soap flakes (Ivory Snow)
Food coloring
1 tablespoon hot water
Molds (candy, muffin tins, ice cube tray)
Mix soap flakes and hot water. Divide mixture into several bowls. Add your favorite color to each bowl. Blend well. Press mixture into molds and let dry for one week. Remove crayons and let air dry for an additional 1-2 days. To give as gifts, wrap several in pretty cellophane and tie off with a ribbon.
|
CRAZY CRAYONS
This is a cost effective way to use up all those broken pieces of crayons hanging around your kid’s room.
Place a variety of peeled broken bits of crayons into a muffin tin about 1/4 full. Place into a 250 degree oven. When crayons appear to be completely melted, shut off oven. Allow to cool completely BEFORE removing pan from oven. Crayons should easily pop out when the bottom of pan is tapped. Experiment with color combinations!
|
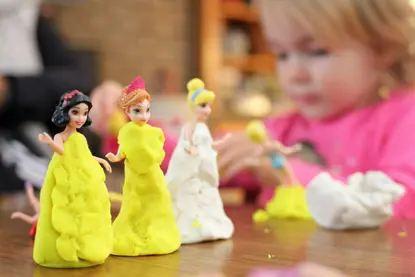
MODELING DOUGH #1
1 cup flour
1 cup salt
½ cup water
Mix flour and salt. Add water and knead dough until smooth. Create desired shapes. Bake at 375 degrees. Time will vary according to the thickness of piece. Allow to cool. Seal with varnish if desired.
|
MODELING DOUGH #2
2 cups flour
1 cup salt
1 cup water
Mix flour and salt well. Very slowly add water to form a ball. Adding the water too quickly will result in sticky dough. Knead dough for several minutes. The kids will love to help with this part! Create desired shapes (1/4" thick). Place on foil or parchment covered cookie sheet. To make ornaments, poke a hole through dough using a straw or toothpick. Bake at 325-350 degrees for 30 minutes or until light brown. If dough begins to rise too quickly lower oven temperature slightly. Time will vary according to the thickness of piece. Allow to cool. Seal with varnish if desired.
|
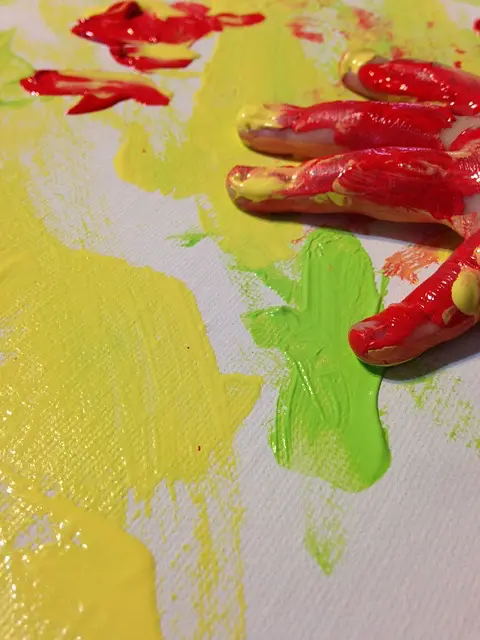
FINGER PAINT
½ cup cornstarch
2 cups cold water
Food coloring or tempera paint
Mix cornstarch and water in a saucepan, stirring constantly to eliminate lumps. Bring to boil. Mixture will begin to thicken. Pour into several small containers (plastic laundry scoops, old muffin tins, and old film or yogurt containers). In each container, add a different color. Allow to cool before using.
|
EASY FINGER PAINT
1 tablespoon light corn syrup
Few drops of food coloring
crafts
|
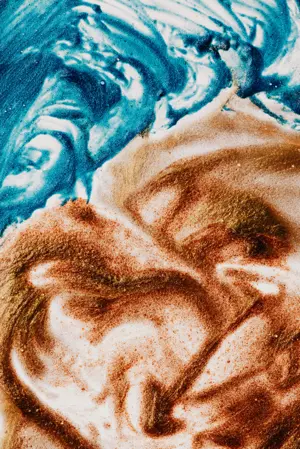
SALT ART
Salt
Food coloring
Construction paper
>White glue
In a glass bowl (to avoid staining), add a few drops of food coloring to table salt. Make several colors in separate bowls. Squeeze white glue onto construction paper in desired patterns. Sprinkle colored sand on glue to completely cover. Allow to dry. Shake off excess salt.
|
SAND PAINT
½ cup flour
½ cup water
½ cup sand
2 tablespoon tempera paint powder or a few drops of food coloring
Mix together. Brush on or use fingers to paint.
|
NON-TOXIC STICKER GLUE #1
Now you can create stickers from any picture. On a computer, print out many colored clipart designs, such as flowers, sailboats, holiday designs, cars and trucks or use magazine pictures or photos. Personalize your designs by writing your name just above or below. Print onto heavier paper and trim. Decorate holiday cards or create personalized stationary and envelopes.
4 unflavored gelatin
8 tablespoon vinegar
1 tablespoon peppermint or lemon extract
Small glass jar (baby food jars work well for this)
In a small saucepan, bring vinegar to a boil. Add gelatin. Reduce to low heat and stir until gelatin is completely dissolved. Add extract and mix well. Allow to cool. Brush a small amount of glue on the reverse side of art. Let dry. Paper may curl but will straighten when the sticker is applied. To soften glue after storage, lower jar into a pan of boiling water until glue dissolves. Warm one hour before use. Moisten the paper to activate glue and apply as stickers. Yields: 1/2 cup.
|
NON-TOXIC STICKER GLUE #2
crafts
|
LICK & STICK GLUE
1 tablespoon jello (any flavor)
2 tablespoon boiling water
Mix until dissolved. Paint precut shapes of paper. When dry, children can lick and stick. Tastes yummy too!
|
BLOWING BUBBLES #1
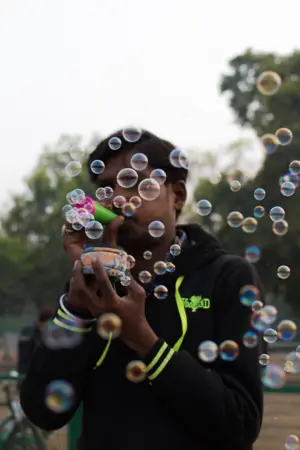
½ cup (Dawn) liquid dish soap
3 tablespoon glycerin (Available at drug stores)
½ gallon water
Mix ingredients gently to avoid excess bubbles. The less bubbles on the surface of the mixture, the stronger the bubbles will be. Note: The longer the mixture sets, the larger the bubbles are and the longer they last.
|
BLOWING BUBBLES #2
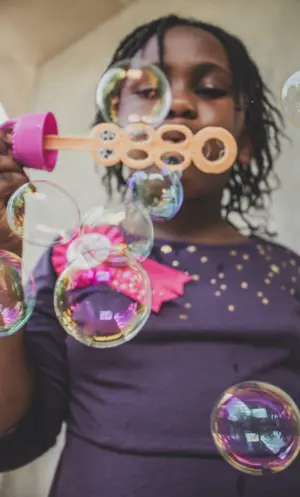
1 cup water
4 tablespoons liquid dish soap
Mix together. Experiment with different blowers, such as a hanger bent into a circular shape, six pack plastic soda rings, etc.
|
SLIME

1 cup Elmer’s glue
1 cup liquid starch
Food coloring
Mix glue and starch together until it forms a ball. If the mixture is sticky add more starch. Add a few drops of food coloring. Kids love this!
|
PEANUT BUTTER PLAY DOUGH
Great fun and tasty too!
1/4 cup powdered milk
1/4 cup honey
¾ cup wheat germ or rolled oats
¾ cup peanut butter
Mix ingredients together. Enjoy!
|
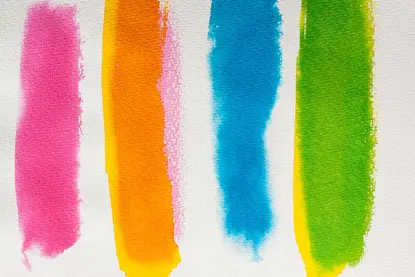
HOMEMADE WATER COLOR PAINTS
2 tablespoons baking soda
1 tablespoon white vinegar
1 tablespoon cornstarch
1/4 tablespoon glycerin (Available at drug stores)
Food coloring
Stir vinegar and baking soda together in a bowl. Mixture will begin to foam. Once it stops, add cornstarch and glycerin. Mix thoroughly. Divide mixture into several containers (Styrofoam egg carton, laundry soap scoops work well for this). Add plenty of food coloring as the paint color will fade when dry. Optional: Add Kool-Aid in place of the food coloring for vivid colors. Allow paint to harden overnight.
|
KID’S TOY CONCOCTION
Create flexible, thick, plastic-like toys in many shapes!
1 packet unflavored gelatin
3 tablespoons hot water
3 tablespoons white glue
Food coloring
Protect work surface. Mix well. Pour into any mold or inside your child’s favorite cookie cutter shapes. Allow to dry for two days.
|
SCRATCH & SNIFF WATERCOLOR PAINT
1 tablespoon unsweetened powdered drink mix
1 tablespoon lukewarm water
Several containers to hold paint (baby food jars, muffin tins, Styrofoam egg cartons, wax-lined paper cups, and old film or yogurt containers)
Mix together water and drink mix. Use different drink mixes for different colors and scents (strawberry, grape, lemon, blueberry, etc.) Paint on paper as usual. Allow to dry overnight before scratching and sniffing.
|
CREPE PAPER CLAY
1 cup flour
1 cup salt
Crepe paper
Mix together flour and salt in a small bowl. Tear crepe paper into small pieces and place into a larger bowl. Add enough water to crepe paper to cover. Soak one hour or until most of water is absorbed. Pour off excess water. Do not squeeze. Begin adding flour and salt until it becomes a clay-like substance. Form clay into interesting shapes. Let dry and apply either a varnish or a glue and water mixture to seal.
|
SIDEWALK CHALK
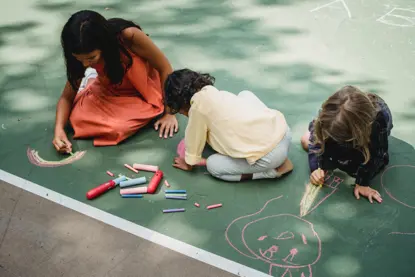
This lasts longer than store bought chalk. It works very well on sidewalks, but is not recommended for use on chalkboards.
1 cup Plaster of Paris
Powdered tempera paint
1 cup water
Molds (upright toilet tissue rolls duct taped on one end, muffin tins, Styrofoam egg cartons, wax-lined paper cups, candy molds, yogurt containers)
Before beginning, protect work surface and clothes. It is best to make this recipe outdoors. Mix plaster and water together until mixture is the consistency of toothpaste. (Add more water or plaster as necessary.) Add powdered paint until desired color is achieved. Experiment with making swirled colors by adding the paint and stirring very little. Stir out any bubbles. Let stand for several minutes before pouring into molds. Depending on the size and thickness of the mold, allow chalk to completely dry over the course of several days. Once dry, remove chalk from mold. If mixture remains moist, let air dry for another 24 hours. Chalk should easily release from mold.
|
PAPER MACHE #1
Create a piñata, ornaments, relief maps, and sculptures from old newspapers, gift wrap, or non-glossy magazine pages. For larger items, you can make the insides hollow by using milk cartons, cans, Styrofoam shapes, or balloons. Simply form your shapes around it!
Mix two parts white glue to one part warm water. Tear paper into strips. Dip paper into liquid mixture. Apply one piece at a time to form shapes. You will need many layers of paper for strength and stability.
|
PAPER MACHE #2
Mix together one part flour with 2 parts water until desired consistency is achieved. Add more water or flour as necessary. Mix well to remove lumps. Add a few tablespoons of salt to help prevent mold.
|
BATH SOAP CRAYONS
1 cup Ivory Snow soap flakes (Do not use soap powder.)
Food coloring
1/4 cup boiling water
Microwavable molds (candy molds in many themes, plastic ice cube tray)
Mix water with one tablespoon of soap flakes at a time, stirring constantly. Divide mixture into several bowls. Add colors to each bowl accordingly. Mixture should resemble a thick paste. Press mixture into molds. Cook in microwave on low for approximately 15 minutes. Keeps a close eye on these while cooking. Microwaves can vary with time and temperature. Remove from microwave and let air dry for several days. Remove crayons from molds, and let dry an additional day. These are wonderful!
|